Back in 2014 I bought my first Raspberry Pi. At first it was only meant for tinkering. Homelab-ing, though, is like opening a bag of chips: once you start, you won’t be able to stop 😅.
However Raspberry Pies aren’t meant for production – I often found the RPi had destroyed the SD card, not to mention that back then they were slow. So I kept my RPi for tinkering and ordered an Ubuntu droplet on DigitalOcean (use this link to get $100 in credit 🤑) for my production side projects and self-hosted apps.
Having found some problems (and having created new needs), I needed to find a solution to solve these:
- Storage
- Compute power
- Doesn’t break as often as a Raspberry Pi
My first production-grade server
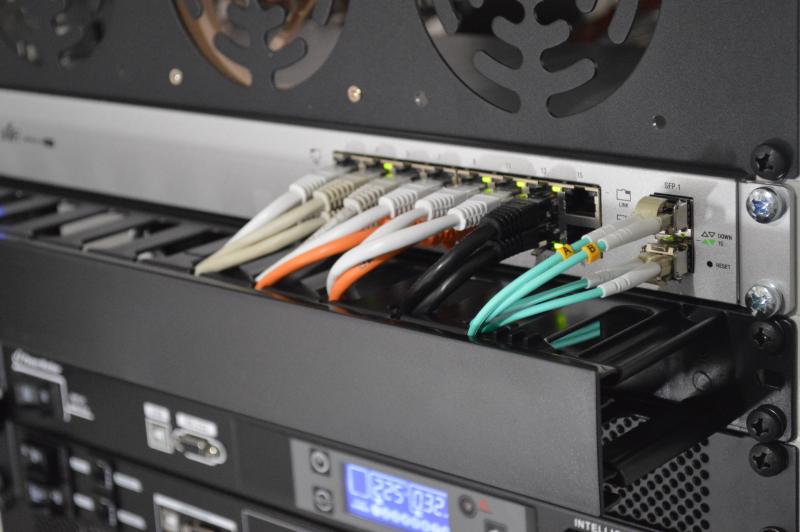
Thanks to the wonders of *advertisement* I bought an HPE ProLiant Microserver Gen8 (Intel Celeron G1610T –still slow but better than RPi–, and 4GB DDR3) that I completed with 2 4TB HDDs. This server allows configuring the HDDs with RAID using a built-in feature – I preferred to control everything with software (i.e. zpool).
iLO – Integrated Lights Out
iLO is an HPE proprietary server management software that allows controlling a server through HTTP. It’s comparable to an ethernet KVM switch: even with the server off the iLO interface will be up and serving a web interface allowing:
- Power management (turning on and off)
- Booting from a network ISO (super useful)
- Remote console to the server (the actual KVM part – through an old Java applet, it hurts every time)
- Probably other but these are the ones I use
Since I’m, on average, 7 hours away from my home lab, this feature has come to be life-saving!
My first config
The first computer I repaired was thanks to Ubuntu. The first VPS I owned was on Ubuntu. RPis are ubuntu-ish (please don’t kill me 😂; although you can now install Ubuntu on them!). Having been using Ubuntu for some years, it felt natural to use it as the base of my home lab.
My then ISP was the best you could get, and I’m not talking speed-wise (1Gbps symmetric). I discovered by serendipity that, on the router, ports 1-to-3 where switched and NATted but port 4 was bridged to their infrastructure, meaning that I could get 2 public IP addresses: one behind the NAT and one on whatever device was connected on port 4. In reality, had I put a switch on port 4, I could have gotten as many IP addresses as devices plugged onto that switch! Their reasoning behind the bridge port is that since the provided router was extremely feature-limited, they allowed you to use your own router this way.
On that server ran apps as I’d run them on my computer: Plex was installed using a deb, Nextcloud was a VirtualHost on a system-wide installed Apache server and so on and so forth. I’d even install GUI applications and use them with ssh -X! Some might say that’s not a good configuration whatsoever, but I couldn’t disagree more: tinkering with what are seemingly bad options has taught me enormously.
My takeaways
I wanted to have a large and safe storage so that I needn’t depend on anyone. Some software compilations and runs were too slow with my Raspberry Pi 1. Buying a server, considering how good an internet connection I had, solved all these problems. What I present here is the first config I had, which has since evolved: this is the best thing of my homelab, since it was not planned, I have been able to do lots of learning by changing and improving the different parts of it.
The most important lessons I learnt are because I used to run a mail server on that server. For some reason, that mail server ran inside a virtual machine. One day, as I was installing updates, I found out that the VM wouldn’t turn on anymore. As a matter of fact, those updates included an update for the Linux kernel, which prevented the VM from running. That made me learn how to recompile the kernel modules/headers and (hot)swap them. However, that’s not as important as my takeaways:
- Test on a staging environment before updating production
- Don’t run your own mail server